LUTScope manages two types of folders separately: “Input LUT” and “Look LUT.” It recursively scans .cube files within each folder and displays them in a tree view that preserves the subfolder structure.
Method 1: Drag & Drop onto the Sidebar
Locate the “Input LUT” or “Look LUT” section in the sidebar
Drag a folder from Finder and drop it onto the corresponding section’s drop area
The folder is registered and .cube files are automatically scanned
Method 2: Sidebar Add Button
Click the add folder button (folder.badge.plus icon) next to the “Input LUT” or “Look LUT” section in the sidebar
Select a LUT folder from the folder selection dialog
Click “Open” to complete registration
Method 3: From the Menu
Menu bar > LUT > Select LUT Folder (⌘⇧O)
Folder Management
Enable / Disable Toggle: Click the checkmark (green circle) to the left of each folder name
Delete Folder: Click the × button on the right side of each folder to unregister it
Rescan: Click the rescan button next to the section, or use Menu > LUT > Rescan LUT Folder (⌘R)
Open in Finder: Click a folder name to reveal it in Finder
Multiple Folders: You can register multiple folders for each type (Input / Look)
macOS may prompt you for folder access permissions the first time you register a folder.
LUT files are not loaded during scanning; they are parsed only when you click on them (lazy loading).
If folder access permissions are lost, an alert will be displayed at app launch.
Loading Video & Still Images
Load video or still images by dragging and dropping them onto the Thumbnail Strip area, or by selecting them via buttons.
Supported Formats
Type
Supported Formats
Video
MOV, MP4 (SDR Rec.709 only)
Still Images
PNG, JPG/JPEG, TIFF, BMP, HEIC, HEIF, WEBP, GIF
Method 1: Drag & Drop
Locate the drop zone (dashed border area) in the Thumbnail Strip
Drag a video or image file from Finder and drop it onto the zone
The file is loaded and thumbnails are displayed
Method 2: Button Selection
Click the Video or Image button inside the drop zone
Select the desired file from the file selection dialog
Method 3: From the Menu
Menu > Video > Select Video (⌘O)
Display After Loading
Still Mode: “Original” and “LUT Applied” are displayed side by side
Video Mode: Frames are extracted, with each frame’s “Raw” (top) and “LUT Applied” (bottom) stacked vertically
Header Bar Controls
Filename display
Clear button (×)
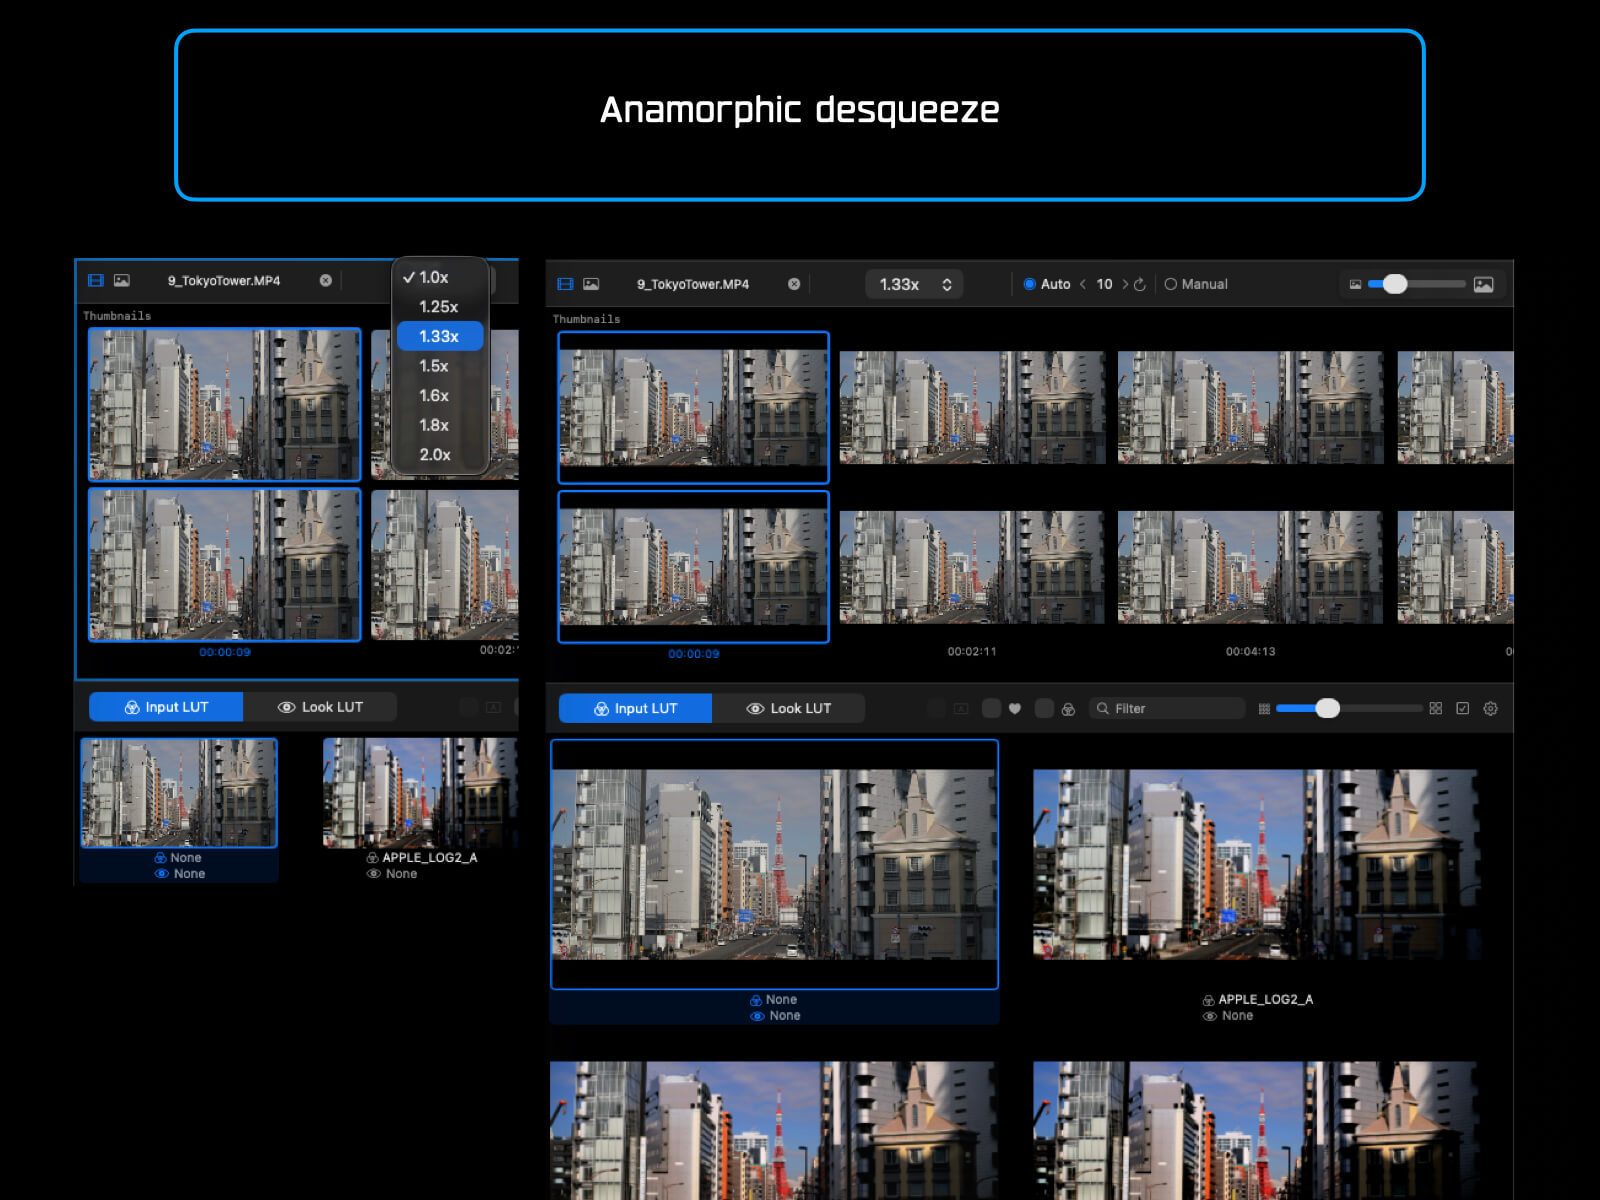
Anamorphic desqueeze (1.0x–2.0x)
SDR Rec.709 only: HDR video is not supported.
HEIC HDR Gain Map: Automatically converted to SDR sRGB on import.
Frame Extraction (Video Mode)
When you load a video, frames are automatically extracted based on the selected extraction mode.
Auto Mode
Select the Auto radio button in the header bar
Set the number of frames (default 10, range 3–50)
Click the refresh button to re-extract frames
Frames are extracted at evenly spaced intervals throughout the video
Manual Mode
Select the Manual radio button in the header bar
Drag the seek slider left or right to choose a position
Hovering over the slider shows a floating preview card (preview image, timecode, and “Add Frame” button)
Click “Add Frame” to add the frame
Added frames are sorted in chronological order
Duplicate frames at the same position are automatically ignored
Frame Management
Remove Frame: Right-click > Remove Frame
Remove All Frames: Right-click > Remove All Frames
Frame Count: Displayed as “X frames” on the right side of the header
Thumbnail Size Slider: Adjust from 120px to 600px using the slider in the upper right